I bought recently two Odroid HC4 microcomputers and 4 Seagate Barracuda 2 TB HDD with the intention to farm Chia on them. The HC4 platform used on ARM64 processor and has two SATA 3, which can be used to plug HDD or SSD drive to it. At work, we are checking out currently the OpenEBS project, which allows to build a Container Attached Storage for Kubernetes using local disks. I was curious, if I could use OpenEBS on those HC4 devices and create a CAS for a Kubernetes home lab.
Hardware
At Botland I bought the Odroid HC4 devices and the required accessories:
- 2 x Odroid HC4 - Amlogic S905X3 Quad-Core 1,8GHz + 4GB RAM — 838 zł
- 2 x SanDisk Ultra 64 GB SD card, class 10 — 87,80 zł
- 2 x 15V/4A power supply — 125 zł
At xkom I bought four HDDs:
- 4 x Seagate Barracuda 2TB, 7200 RPM (ST2000DM008) — 956 zł
So the final bill was 2006,80 zł, which is around $550.
Configuration
Installing k3s on Odroid HC4
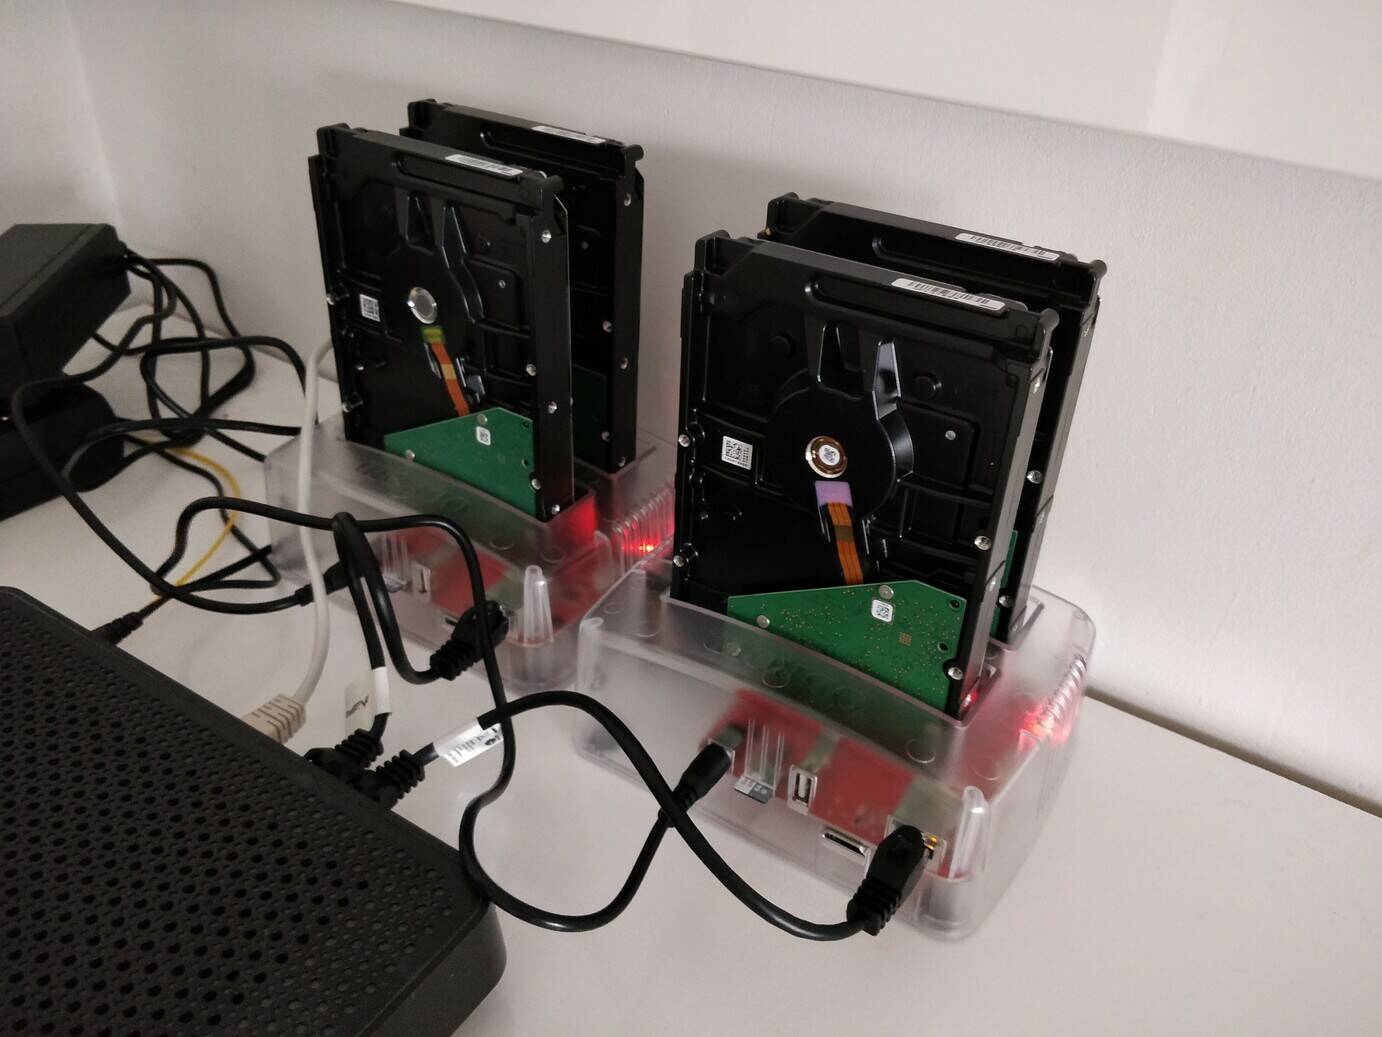
I flashed the official Ubuntu Minimal images from hardkernel on the SD cards, plugged the hard drives to the SATA 3 slots and powered on the HC4 computers. First thing I noticed was, that the hard drive are loud. Very loud. I was using only SSDs on my PC for a couple of years and I forgot the sound of spinning disks. I wouldn’t put this in my bedroom.
I configured static IPs for the Odroids on my home router and decided to use k3s to create a Kubernetes cluster. I also changed the hostnames of the Odroids:
| Hostname | IP address | Role |
|---|---|---|
| odroid-hc4-01 | 192.168.1.210 | K3s server |
| odroid-hc4-02 | 192.168.1.211 | K3s agent |
To create the k3s cluster I used k3sup:
# Install k3s server node
$ k3sup install --ip 192.168.1.210 --user root

# Join k3s agent node
$ k3sup join --ip 192.168.1.211 --server-ip 192.168.1.210 --user root
k3sup saves the kubeconfig file to the cluster in your working directory, so you can configure kubectl to the k3s cluster by executing:
$ export KUBECONFIG=$PWD/kubeconfig

$ kubectl get nodes
NAME            STATUS   ROLES    AGE   VERSION
odroid-hc4-01   Ready    master   41h   v1.19.11+k3s1
odroid-hc4-02   Ready    <none>   41h   v1.19.11+k3s1
After I had the Kubernetes cluster ready I moved on to install OpenEBS on it.
Installing OpenEBS
Using OpenEBS you can create a Container Attached Storage using local disks on your cluster nodes. This is useful, when you aren’t running on a cloud provider with a managed block storage offering or when you want to create a replicated storage class for a Kubernetes cluster in your home lab, and you don’t have an iSCSI disk array.
I followed the installation guide on their official documentation:
# Install and enable iSCSI initiator
$ apt-get install open-iscsi
$ systemctl enable --now iscsid

# Install OpenEBS using Helm
$ helm repo add openebs https://openebs.github.io/charts
$ helm repo update
$ helm install --namespace openebs --create-namespace openebs openebs/openebs
The OpenEBS Node Manager should automatically find available, unmounted disks on the nodes. I verified, if OpenEBS discovered my HDD drives and installed to Storage Classes:
$ kubectl get blockdevice -n openebs
NAME                                           NODENAME        SIZE            CLAIMSTATE   STATUS   AGE
blockdevice-1a0d6f15e0044f96487d1529a4446e9a   odroid-hc4-01   2000397868544   Unclaimed    Active   24h
blockdevice-5b01691835dd756c9fcdcfe6bd953b63   odroid-hc4-01   2000397868544   Unclaimed    Active   24h
blockdevice-f9537c7636fc1692ac5cf7dbc1209122   odroid-hc4-02   2000397868544   Unclaimed    Active   20h
blockdevice-7961db657eb3e5da183d5a281ffb1599   odroid-hc4-02   2000397868544   Unclaimed    Active   24h
$ kubectl get storageclasses
NAME                        PROVISIONER                                                RECLAIMPOLICY   VOLUMEBINDINGMODE      ALLOWVOLUMEEXPANSION   AGE
local-path (default)        rancher.io/local-path                                      Delete          WaitForFirstConsumer   false                  41h
openebs-snapshot-promoter   volumesnapshot.external-storage.k8s.io/snapshot-promoter   Delete          Immediate              false                  41h
openebs-hostpath            openebs.io/local                                           Delete          WaitForFirstConsumer   false                  41h
openebs-device              openebs.io/local                                           Delete          WaitForFirstConsumer   false                  41h
openebs-jiva-default        openebs.io/provisioner-iscsi                               Delete          Immediate              false                  41h
So now we have 3 additional storage classes to use:
openebs-hostpath(Local PV Hostpath) — creates a PV using local hostpath, by default/var/openebs/local. So you could mount for e.g. your disk under this path, and it will be used for the PVs.openebs-device(Local PV Device) — claims an available block device, mounts it, creates a filesystem and uses for the PV. Using this class you get the full performance of the drive, but you can create only 1 PV per blockdevice, and it is not replicated.openebs-jiva-default(Jiva) — uses the Jiva storage engine to provision PVs. It’s an older solution and is only recommended for smaller workload and when you don’t need features like snapshots.
There are also two other storage engines, which you have to install separably:
- cStor - most mature and recommended engine. Supports SAN multipath and snapshots, so can be considered for production and HA workloads. Drawback is, that it’s really slow, compared to the raw device performance.
- Mayastor - new, still experimental storage engine. Offers much better performance than Jiva and cStor, but for now lacks some features like multipath or snapshots. It also does not support ARM64 architecture so I wasn’t able to test Mayastor on my Odroid cluster.
Installing cStor
The cStor operator and provisioner must be installed separately. I used their Helm chart to install it:
$ helm repo add openebs-cstor https://openebs.github.io/cstor-operators
$ helm install openebs-cstor openebs-cstor/cstor -n openebs --set openebsNDM.enabled=false
To use cStor you have to create an cStorPoolCluster. A cStor pool are one or more nodes on a single node, which are designated to create PVs. A pool cluster are multiple pools from different nodes. This allows for PV replication and provides durability and HA.
I created the following cStorPoolCluster CR:
# cspc.yaml
apiVersion: cstor.openebs.io/v1
kind: CStorPoolCluster
metadata:
  name: cstor-storage
  namespace: openebs
spec:
  pools:
    - nodeSelector:
        kubernetes.io/hostname: "odroid-hc4-01"
      dataRaidGroups:
        - blockDevices:
            - blockDeviceName: "blockdevice-1a0d6f15e0044f96487d1529a4446e9a"
            - blockDeviceName: "blockdevice-5b01691835dd756c9fcdcfe6bd953b63"
      poolConfig:
        dataRaidGroupType: "stripe"

    - nodeSelector:
        kubernetes.io/hostname: "odroid-hc4-02"
      dataRaidGroups:
        - blockDevices:
            - blockDeviceName: "blockdevice-f9537c7636fc1692ac5cf7dbc1209122"
            - blockDeviceName: "blockdevice-7961db657eb3e5da183d5a281ffb1599"
      poolConfig:
        dataRaidGroupType: "stripe"
dataRaidGroupType: stripe means that the capacity of the pool will be the sum of the 2 block devices. So in my case the capacity of the whole pool cluster is 8 TB. You could also set dataRaidGroupType: mirror to get more resilience in case of a disk failure, at the cost of capacity.
The last thing is to create the Storage Class for cStor. We have to provide the pool cluster for the class and the desired replica count. Note, that the replica count must be equal or lower to the number of pools in the pool cluster. Again, depending on your use case, you can balance between resilience and capacity. I choose to maximize the capacity of my pool cluster and set the replica count to 1:
# cstor-csi.yaml
kind: StorageClass
apiVersion: storage.k8s.io/v1
metadata:
  name: cstor-csi
provisioner: cstor.csi.openebs.io
allowVolumeExpansion: true
parameters:
  cas-type: cstor
  cstorPoolCluster: cstor-storage
  replicaCount: "1"
$ kubectl apply -f cspc.yaml
$ kubectl apply -f cstor-csi.yaml
$ k get sc cstor-csi
NAME        PROVISIONER            RECLAIMPOLICY   VOLUMEBINDINGMODE   ALLOWVOLUMEEXPANSION   AGE
cstor-csi   cstor.csi.openebs.io   Delete          Immediate           true                   7s
Benchmarking the Storage Classes
Setup
I was curious what is the performance of the different Storage Classes. I’m using only HDD drives, so I wasn’t expecting high numbers, especially on random read/write.
For benchmarking, I used kubestr. It’s a simple tool, which creates a Pod with a PVC from the selected Storage Class and runs fio in the pod to benchmark it. Unfortunately, they didn’t have a container image for ARM64 architecture, so I forked the repository and built and ARM64 compatible image:
- GitHub Action — https://github.com/Trojan295/kubestr/actions/runs/886652128
- Docker image —
ghcr.io/trojan295/kubestr:add-arm64-docker-image
I also prepared bunch of fio configs based on this page, so I could benchmark random RW and sequential read throughput and IOPS. I used the following configs:
Random read/write IOPS
[randrw_iops]
bs=4K
iodepth=256
name=raw-randreadwrite
rw=randrw
size=2G
ioengine=libaio
direct=1
group_reporting
time_based
runtime=120
numjobs=4
Random read/write throughput
[randrw_iops]
bs=64K
iodepth=64
name=raw-randreadwrite
rw=randrw
size=2G
ioengine=libaio
direct=1
group_reporting
time_based
runtime=120
numjobs=4
Sequential read IOPS
[seqread_iops]
bs=4K
iodepth=256
name=raw-read
rw=read
size=2G
ioengine=libaio
direct=1
group_reporting
time_based
runtime=120
numjobs=4
Sequential read throughput
[seqread_speed]
bs=64K
iodepth=64
name=raw-read
rw=read
size=2G
ioengine=libaio
direct=1
group_reporting
time_based
runtime=120
numjobs=4
I benchmarked the following storage classes:
openebs-deviceopenebs-jiva-defaultcstor-csi
I was running kubestr with the following command:
kubestr fio --image ghcr.io/trojan295/kubestr -s <storage-class> --fiofile <config-file>
Results
The Local PV device results are very similar to the results on UserBenchmark for this HDD. Sequential read performance is killed by using either Jiva or cStor. For random read/write there is a 40% throughput drop. The IOPS on the cStor Storage Class is higher than on the Local PV device most probably because in have 2 disks in stripe mode in my cStor pool.
My thoughts
It took my a single day to create and configure this setup and it wasn’t hard. Reading the OpenEBS documentation is enough to get started. I haven’t tried to tune the performance of Jiva and cStor pools, so most probably I could get more performance out of those disks after playing with some parameters.
I think OpenEBS is a nice solution, when you are running Kubernetes in your home lab, and you need some CAS or when you have an on-premise setup. When using managed solutions like AWS EKS or Azure AKS I think it’s better to use their block storage offering. You could use OpenEBS to create an HA storage solution over few AWS availability zones (EBS are tight to a single AZ), but you need to remember, that the volume replication is done synchronous, so the performance will be worse.
From what I saw the experimental Mayastor provides much better performance (some benchmarks show it’s comparable to the raw device performance). Unfortunately, it does not support ARM64 for now, although there is some work going on in this field: https://github.com/openebs/Mayastor/pull/671.