Static website hosting
You most probably heard about static website hosting, static website generators and Github Pages or Netlify. After the boom of web technologies the backends got heavier and heavier, page loading times increased multiple times. You wanted to create a blog or portfolio website and you had to:
- buy a server/VPS
- buy/install a database
- buy a domain
- install the required backend software and configure it
- ensure the system is patched
- make backups
You either made this by yourself or bought a managed solution from some provider.
When the user interaction with the website is limited only to reading and only you are providing content for the website such solutions are a overkill. Inspired by the old times, when pages were only a bunch of HTML and CSS code, people created tools, where you can write the content you want to present, pick or create a theme and this gets compiled to HTML, CSS and (sometimes) Javascript.
You can store the code for your page in git, so backups are easy. As there is no server-side code execution or database, the surface for potential cyberattack is small. In this post I would like to show you, how I created this blog and hosted it using AWS Amplify. The repository for the project is hosted on GitHub
Hugo - static site generator
To manage the content and build the website I use Hugo. It’s a static site generator written in Golang and allows to write content in Markdown or HTML. It also has an theme engine, so you can use themes created by other people, extend them or prepare your own theme.
# create the project
$ hugo new site my-page
$ cd my-page
$ git init

# add 'hugo-developer-portfolio' theme
$ git submodule add https://github.com/adityatelange/hugo-PaperMod themes/papermod
echo 'theme = "papermoc"' >> config.toml
After you initialize the project you’ll end up with a few directories and files:
config.toml- Hugo configuration file. Here you defined the Hugo configuration, theme and theme parameters. You can find more information herecontent- your page content, posts, etc. If you want to create a new page on your site or write a new blog post, you’ll do this herethemes- directory for themesstatic- directory for static content like images, videos, which will be served from the root path. Check here for more detailslayouts- directory for layouts for the pages. You store here templates for parts of the page, which Hugo fills with the content and combines together. In most cases you will use the layouts from the theme, but you can create new or override the theme provided layouts
You can find more information about the structure of the project here.
In my case I just picked the PaperMod, edited the template for the post (I wanted the share buttons on top) and adjusted the config.toml.
You can run a local server with hot-reload using
hugo server
To build the final static files run:
hugo
This will create a directory public with all the output files, which can be uploaded to a static website hosting.
Hosting using AWS Amplify
AWS Amplify is a framework to build web and mobile apps, similar to Google Firebase. In my case I just used it’s ability to host static sites and provide a simple CI/CD pipeline to deploy new static files in case a new commit is made.
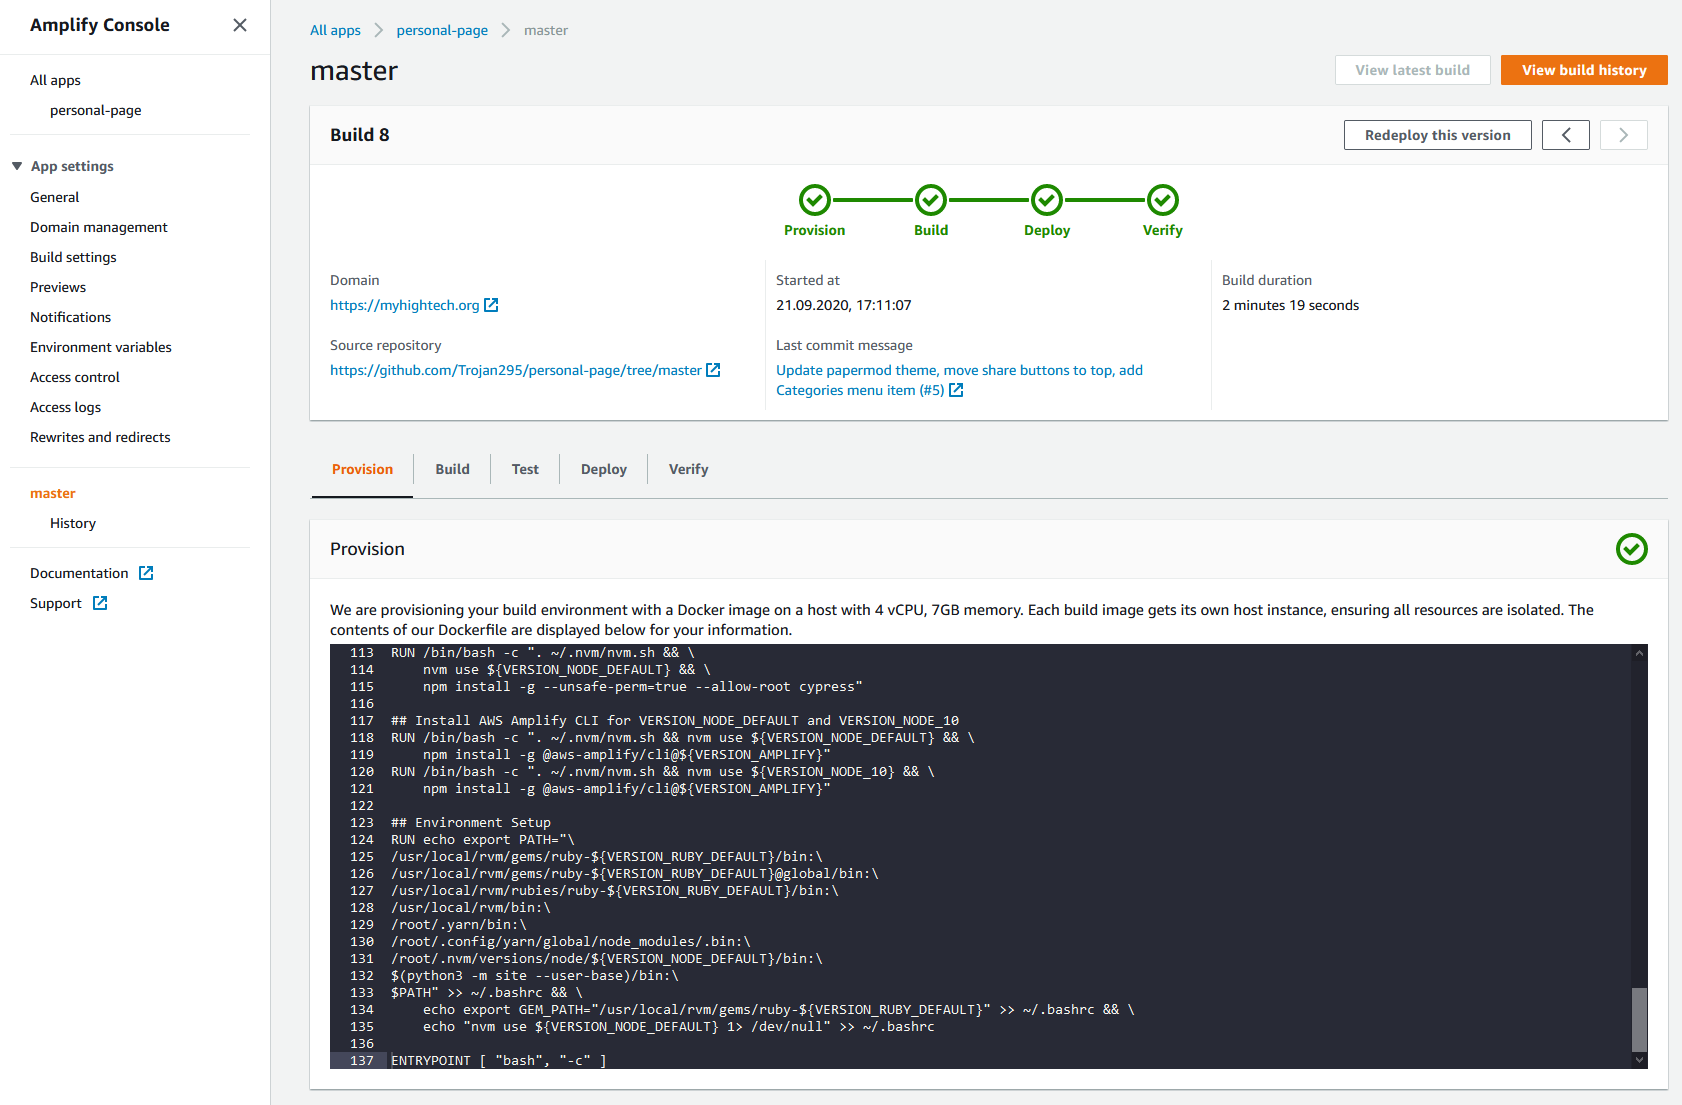
So I went through this guide and created my Amplify app in AWS Console. Amplify automatically detected, that the repository contains an hugo project and created the buildspec.yml for me.
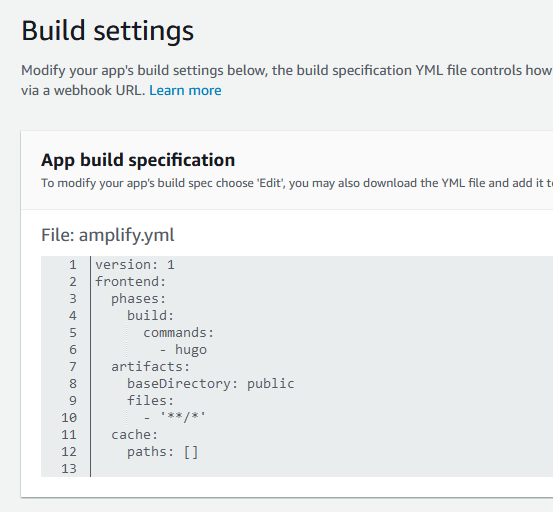
Right after was the pipeline started and after a few minutes my page was available.
I also added the domain I have registered in Route 53: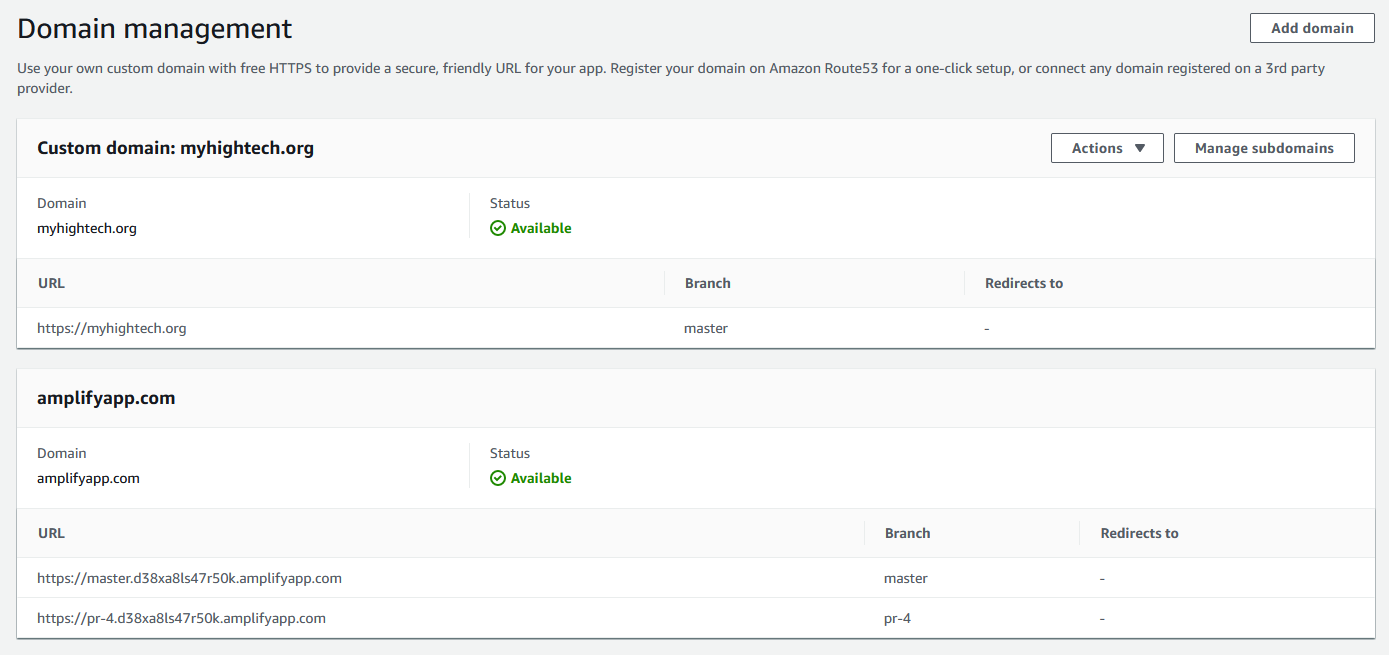
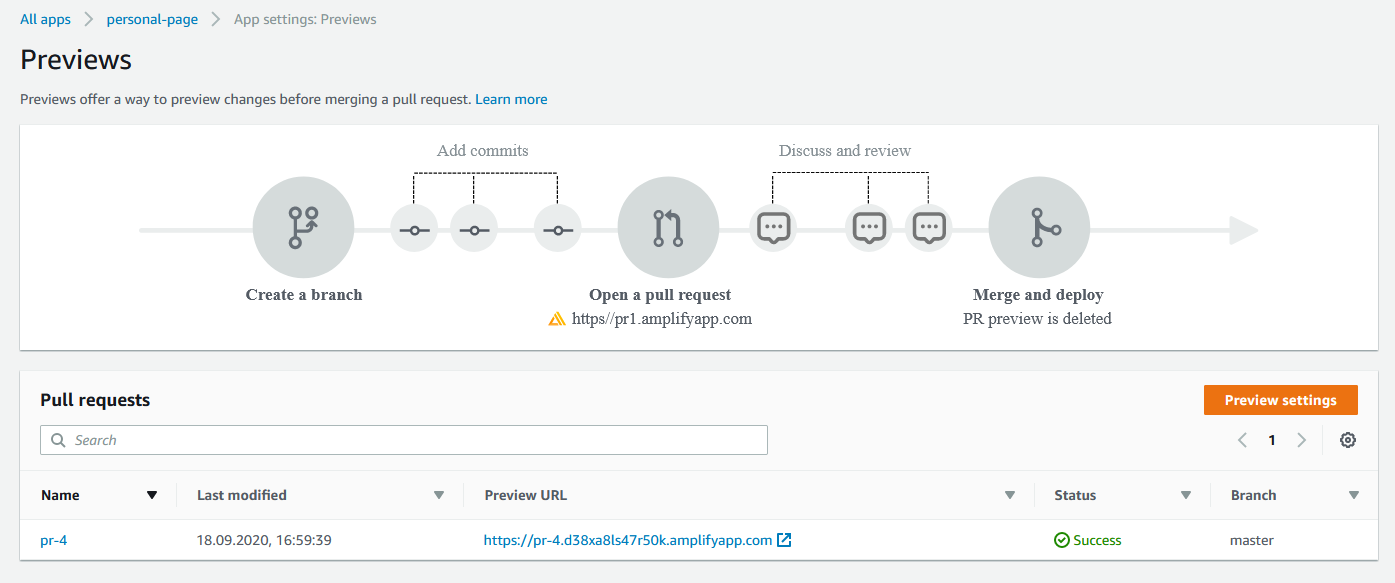
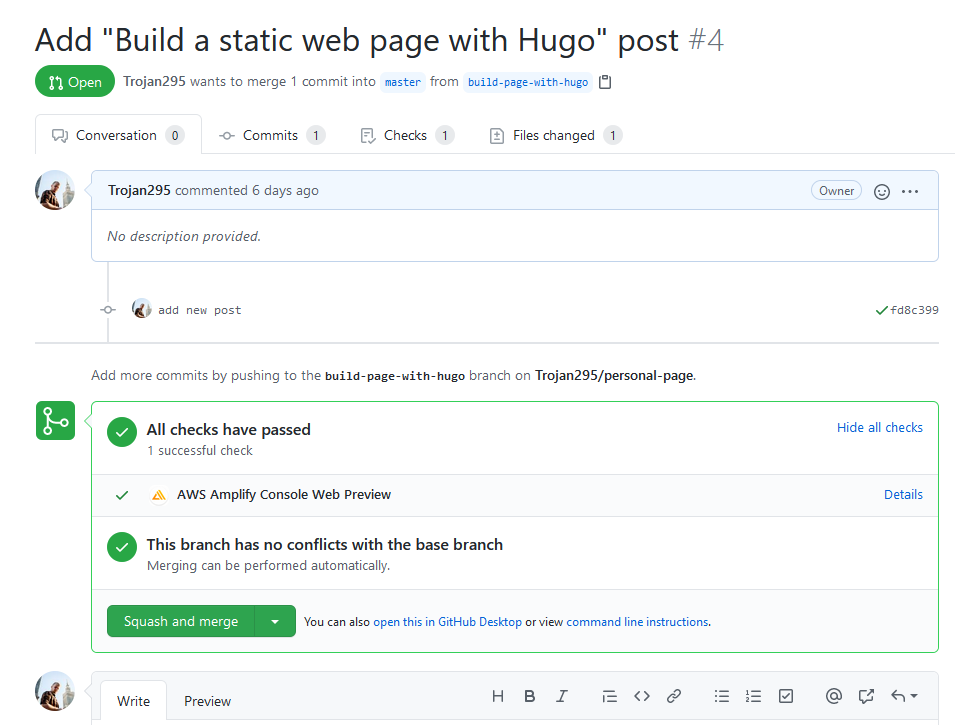
I also use the preview feature in Amplify. If a new PR is created in the source git repository, then Amplify deploys the code in a temporary environment, so you can check, if everything looks ok. What’s neat, this is visible in GitHub as a PR check and you have there the link to the environment.
Summary
I’m pretty happy with the experiance Hugo and Amplify provided. After you tweak the configuration of your Hugo project, you just need to write the content in Markdown and that’s all. Amplify was a few-click-and-forget My current workflow looks following:
- Make a branch
- Write the post
- Create a PR
- Check the preview environment in Amplify
- Merge the PR
- Check the post is available on the blog
I don’t have to worry about any server maintenance, patching, database backups. The price is also low compared to buying a server ($0.15 per GB served), although I can imagine it could skyrocket, if you serve for eg. videos or large images and have a large user base.